Square Starts at the First Mark
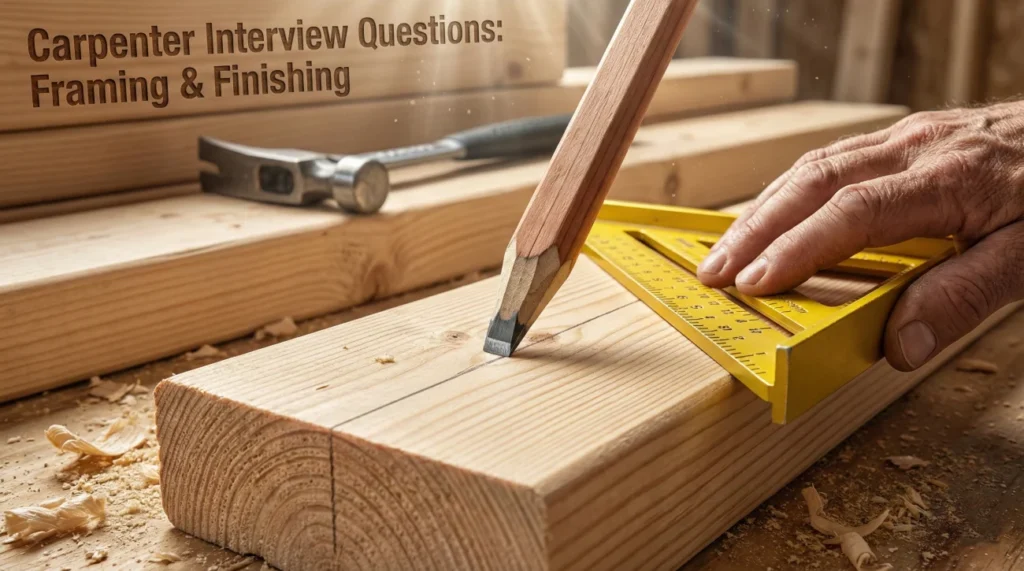
Carpenter interview questions are less about slogans and more about whether you can build clean, repeatable results in messy conditions. Lumber moves. Foundations are not always perfect. Plans can conflict. Carpenters still have to make everything land where it should.
Hiring managers want proof you can think in layout, not just swing tools. They listen for how you check square, how you correct small errors before they spread, and how you keep work safe and consistent across a crew.
This guide covers rough and finish fundamentals, practical math, and jobsite scenarios. Use it to show you are the carpenter who makes the build smoother for everyone: tight layout, clean cuts, and problem solving that prevents rework.
Carpentry Math & Layout
Q: Explain the “3-4-5” method and why you use it.
The 3-4-5 method uses the Pythagorean theorem ($$a^2 + b^2 = c^2$$) to establish a perfect 90-degree square corner. If one side is 3 feet and the adjacent side is 4 feet, the diagonal must be 5 feet to be square. On a job site, we scale this up (e.g., 6-8-10 or 30-40-50 feet) for accuracy. I use this to square up foundation forms or layout walls on a slab before snapping chalk lines. If I don’t start square, the roof won’t fit and the tile will look crooked.
Q: How do you calculate the length of a Common Rafter?
To cut a rafter, I need the Span (width of the building), the Ridge Thickness, and the Pitch (slope, e.g., 6/12).
1. Find the Run: Half the span minus half the ridge thickness.
2. Use the “Unit Length” from the framing square (or a construction calculator). For a 6/12 pitch, the diagonal is 13.42 inches for every 12 inches of run.
3. Multiply the Run (in feet) by the Unit Length to get the “Line Length” (from bird’s mouth to ridge plumb cut).
4. Add the Overhang (tail) to get the total board length.
Q: What is the standard spacing for wall studs, and why?
The standard is 16 inches On Center (O.C.). This is because building materials like plywood, drywall, and insulation come in 4-foot (48-inch) or 8-foot (96-inch) widths. 16 divides evenly into 48 (3 bays) and 96 (6 bays). This ensures the edges of every sheet land on a stud for nailing. In some advanced framing or non-load-bearing walls, we might use 24 inches O.C. to save lumber and allow more insulation (“California Corners”), but 16 is the golden rule.
Q: Describe how to layout a Stair Stringer.
Layout starts with Total Rise (floor to floor height). I divide Total Rise by 7 (target riser height) to find the number of steps. I adjust the math so every riser is identical (within 3/8″).
Then I determine the Run (tread depth), usually 10 or 11 inches. I use a framing square with “stair gauges” clamped at the rise and run dimensions. I mark the stringer step-by-step. Crucially, I must “Drop the Stringer” at the bottom: I cut off the thickness of the tread material from the bottom riser layout so the first step isn’t too tall when the tread is added.
Framing & Formwork Techniques
Q: Rough Opening (R.O.) Sizing
The R.O. is the hole we frame for a door or window. It is always larger than the unit size to allow for shimming and adjustment (plumb/level). A standard rule is Unit Size + 2 inches for width and height. For a 3068 door (3’0″ x 6’8″), the R.O. is roughly 38″ x 82″. If I frame it tight to the door size, the door won’t fit once the header sags slightly or if the floor isn’t perfectly level.
Q: Header Layout & Cripples
A Header carries the load over an opening. It sits on “Jack Studs” (Trimmers) which are nailed to “King Studs” (full height). The space above the header is filled with “Cripple Studs” to carry the top plate load and provide drywall backing. I ensure the cripples follow the 16″ O.C. layout of the wall so the plywood sheathing nails hit solid wood above the opening.
Q: Concrete Formwork Pressure
Wet concrete exerts massive hydraulic pressure against forms, especially at the bottom. The pressure depends on the Pour Rate (feet per hour) and Temperature. If I pour too fast, the pressure can blow out the forms (“blowout”). I reinforce the bottom of the forms with extra walers and strongbacks (vertical stiffeners) and use snap ties. I vibrate the concrete to remove air pockets (honeycombing) but am careful not to over-vibrate and burst the form.
Q: Fire Blocking
Fire blocks are horizontal pieces of wood installed between studs to stop the “chimney effect” during a fire. Without them, fire sucks oxygen from the basement and shoots up the wall cavity to the attic in seconds. Code typically requires fire blocking every 10 feet vertically and at ceiling/floor lines. I also fire block around pipes and wires penetrations using fire-rated foam or caulk.
Q: Shear Wall Nailing
Shear walls resist lateral forces (wind/earthquake). The nailing pattern is critical. The structural engineer specifies the nail size (e.g., 8d or 10d) and spacing (e.g., 6″ edge, 12″ field). On high-load walls, spacing might be 3″ or 2″ O.C., requiring staggered nailing to avoid splitting the stud. “Shiners” (nails that miss the stud) do not count; I must pull them and drive a new one properly.
Q: Crown Molding Cuts
Crown molding sits at an angle (spring angle) between the wall and ceiling. To cut it, I use the “Upside Down and Backwards” method on a miter saw. I place the molding upside down on the saw fence (ceiling edge on the table). This allows me to use simple 45-degree miter cuts instead of complex compound bevel/miter settings. For inside corners, I prefer to “Cope” the joint (cut the profile) rather than miter it, because coped joints don’t open up when the wood shrinks.
Job Site Scenarios
You are framing a wall and discover the floor slab is out of level by 1/2 inch. What do you do?
I cannot build a crooked wall on a crooked floor. I must level the bottom plate. I find the high point of the slab. I cut my studs to length based on that high point.
At the low spots, I shim under the bottom plate using non-compressible shims (like plastic or steel, not just wood scraps that rot) to bring it up to level. If the gap is large, I might rip a tapered pressure-treated sleeper to fill the void. I ensure the bottom plate is fully supported so the load transfers to the foundation, then I anchor it down.
You are installing a pre-hung door and the wall is “cross-legged” (the jambs stick out on opposite corners).
This means the rough framing is twisted. If I install the door flush to the drywall on both sides, the door will be twisted and won’t close. I prioritize the door operation.
I set the hinge side plumb and level first. Then I adjust the strike side so the door slab hits the stop evenly (no gaps). This might mean the jamb sticks out of the drywall at the top corner and is recessed at the bottom corner. I fix the unsightly gap later by “rolling” the casing trim or smashing the drywall slightly (“beating the rock”) to hide the error. A door that doesn’t latch is a callback; a door with imperfect trim is just a paint issue.
A coworker removes the guard off the circular saw to cut a steep bevel. What do you say?
That is a “pinned guard,” and it’s a major OSHA violation and amputation risk. I would tell him to stop immediately. “Hey, put the wedge back in or un-pin that guard. It’s not worth losing a finger.”
If the saw cannot make the cut safely with the guard (e.g., a severe compound angle), we need a different tool (like a table saw or reciprocating saw) or a different method. Productivity never trumps safety. If he refuses, I walk away and notify the foreman, because I won’t work next to a loose cannon.
Advanced Tools & Materials
Q: Differentiate between Pressure Treated (PT) and regular lumber.
Pressure Treated (PT) wood is infused with chemicals (like copper azole) to resist rot and termites. It is required by code (“Sill Plate”) whenever wood touches concrete or masonry. PT wood is wet, heavy, and corrosive to standard steel. I must use Hot-Dipped Galvanized (HDG) or Stainless Steel fasteners with PT wood; standard nails will rust and fail in months. Regular lumber (SPF or Hem-Fir) is for interior framing above grade.
Q: How do you use a Laser Level for drop ceilings?
A rotary laser is essential for large acoustic ceilings. I set the laser on a tripod at the benchmark height (e.g., 9 feet). I install the wall angle (L-molding) around the perimeter using the laser line. Then, as I hang the grid mains and tees in the center of the room, I use a magnetic target or receiver on the grid to level it. This is faster and more accurate than stretching string lines, which sag over long distances.
Q: What is a “Simpson Tie” and why is the nailing pattern important?
Simpson Strong-Ties (or similar brands) are metal connectors used to transfer loads (hurricane ties, joist hangers, hold-downs). The nailing pattern is engineered. I cannot just put “enough” nails in. I must fill every hole designated by the manufacturer.
I must use the correct nail (e.g., 10d x 1.5″ joist hanger nail vs 16d sinker). Using a framing nail in a hanger often splits the wood behind it. Using a short nail in a heavy load hanger reduces its shear capacity. Inspectors look at these hangers first.
Q: Explain “Advanced Framing” (OVE – Optimum Value Engineering).
Advanced framing reduces lumber usage and increases insulation. Techniques include: 1) 24″ O.C. Framing (using 2×6 studs) instead of 16″. 2) Two-Stud Corners (California Corner) allowing insulation into the corner. 3) Single Top Plates (if rafters align with studs). 4) Eliminating Headers in non-load bearing walls. It requires more planning because the load path must be stacked perfectly (rafter on stud on joist).
Carpenter Knowledge Check
Test Your Trade Skills
1. Ideally, which direction should the “Crown” of a stud face in a wall?
- Down / In
- Up / Out (or all in the same direction)
- Alternating left and right
- It doesn’t matter
2. A “Bird’s Mouth” cut is found on a:
- Floor Joist
- Rafter (where it sits on the top plate)
- Stair Stringer
- Door Header
3. What is the actual dimension of a 2×4 piece of lumber?
- 2 inches x 4 inches
- 1.5 inches x 3.5 inches
- 1.75 inches x 3.75 inches
- 2.5 inches x 4.5 inches
4. “Plumb” refers to:
- Perfectly horizontal
- Perfectly vertical (up and down)
- Square corners
- Straight lines
5. Which tool is best for ripping a 4×8 sheet of plywood lengthwise?
- Miter Saw (Chop Saw)
- Table Saw or Circular Saw with a guide
- Jigsaw
- Reciprocating Saw (Sawzall)
6. A “Penny” (d) size refers to:
- The cost of the nail
- The length of the nail (e.g., 16d = 3.5″)
- The thickness of the nail
- The metal type
7. To prevent “squeaky floors,” you should:
- Use more nails only
- Glue and screw the subfloor to the joists
- Use thinner plywood
- Space joists further apart
8. A “Speed Square” (Rafter Square) is primarily used for:
- Cutting metal
- Marking 90 and 45-degree angles and guiding saw cuts
- Leveling the floor
- Digging holes
9. What is “Toe-Nailing”?
- Nailing into your toe
- Driving a nail at an angle through the end of a stud into the plate
- Nailing straight through the plate
- Using screws instead of nails
10. “OSB” stands for:
- Old Structural Board
- Oriented Strand Board
- Outer Sheathing Base
- Oak Solid Board
11. A “Chalk Line” is used to:
- Write notes on the wall
- Snap a long, straight layout line on a flat surface
- Measure vertical height
- Clean the floor
12. The “Top Plate” of a wall usually consists of:
- One 2×4
- Two 2x4s (Double Top Plate) overlapped at corners and joints
- A steel beam
- Plywood strips
13. Which joint is strongest for joining two pieces of wood end-to-end?
- Butt Joint
- Scarf Joint or Finger Joint (glued)
- Miter Joint
- Lap Joint
14. What is a “Sill Seal” (or Sill Gasket)?
- Paint on the window sill
- Foam strip between the concrete foundation and the wood sill plate to prevent air/moisture infiltration
- Glue for the floor
- A type of clamp
15. “Rough-In” carpentry refers to:
- Installing cabinets
- Building the structural frame before finishes are applied
- Sanding the floor
- Painting the exterior
16. When installing drywall, screws should be sunk:
- Deep into the gypsum core
- Just below the surface of the paper without breaking the paper
- Flush with the paper
- Left sticking out
17. A “Cat’s Paw” tool is used for:
- Scratching wood
- Digging out and pulling embedded nails
- Painting corners
- Holding the chalk line
18. The “Rise” of a roof refers to:
- The horizontal distance
- The vertical height gain
- The length of the rafter
- The overhang
19. “MDF” (Medium Density Fiberboard) is best used for:
- Outdoor decking
- Interior painted trim and cabinetry
- Structural framing
- Concrete forms
20. Which PPE is essential when using a powder-actuated tool (Hilti gun)?
- Gloves only
- Hearing protection and safety glasses (impact risk)
- Dust mask only
- Reflective vest
❓ FAQ
📜 Is an apprenticeship required to become a carpenter?
Not always, but structured training helps you build fundamentals safely and faster.
Many carpenters start as helpers, learn on crews, and then formalize skills through apprenticeship programs or certifications.
🧰 What tools should I be comfortable with in an interview?
You should speak confidently about core hand tools and safe use of power tools you will touch daily on the job.
Employers also value layout tools and measurement habits because accuracy is what separates clean work from constant fixes.
🪚 Rough carpentry vs finish carpentry: which one is harder?
They are hard in different ways. Rough work demands speed, strength, and layout discipline. Finish work demands precision and patience.
If you have a preference, explain it. If you are flexible, say how you adapt your standards to the stage of the build.
🏠 Residential vs commercial: what changes?
Residential often includes a wider variety of tasks and tighter client expectations. Commercial can be more repetitive but demands strong coordination and safety on larger sites.
In interviews, connect your experience to the job environment and the pace of the crew.
🤕 Is carpentry tough on your body?
It can be, which is why technique and safety matter. Smart carpenters protect themselves with good lifting habits, PPE, and tool discipline.
A strong answer shows you work hard but also work long: you take care of your body so you can stay productive for years.
Build Trust the Same Way You Build Walls
Use the interview question resource to practice explaining how you lay out, verify, and correct before problems grow.
If you can talk through your measurement habits, your safety mindset, and how you handle imperfect conditions without complaining, you will sound like the carpenter crews rely on when the job needs to be right.
⚠️ Disclaimer: The interview strategies, sample answers, and negotiation tips provided in this guide are for educational purposes only. Hiring decisions are subjective and vary by company and industry. While these strategies are based on professional HR standards, they do not guarantee a specific job offer or result.